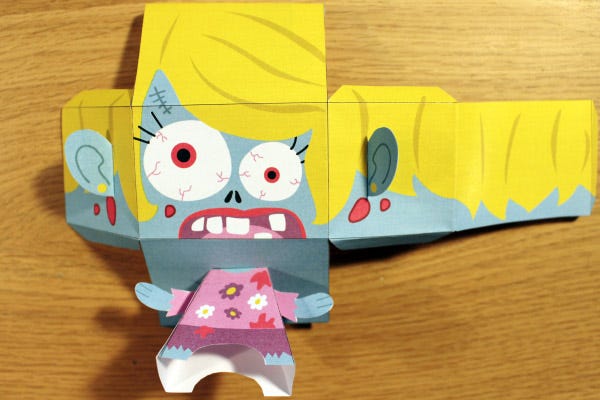
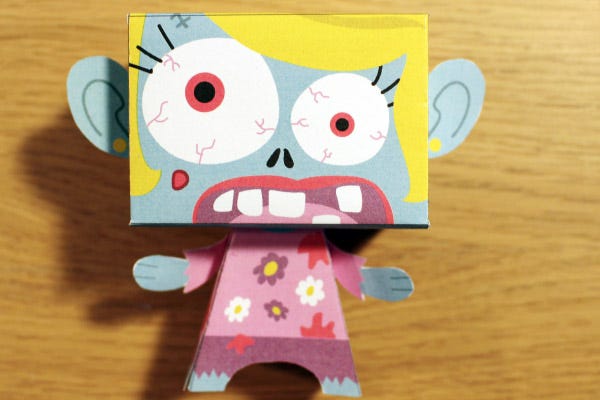
Raaaarrrggghh! Zombies are coming out for Halloween!
Essentials
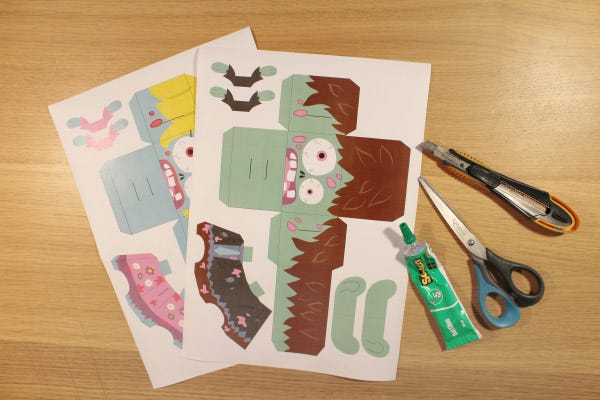
For this DIY, you will need:
- our free templates that you can download below
- A4 printer paper sheet
- glue
- a cutter
- and… scissors
Steps
1
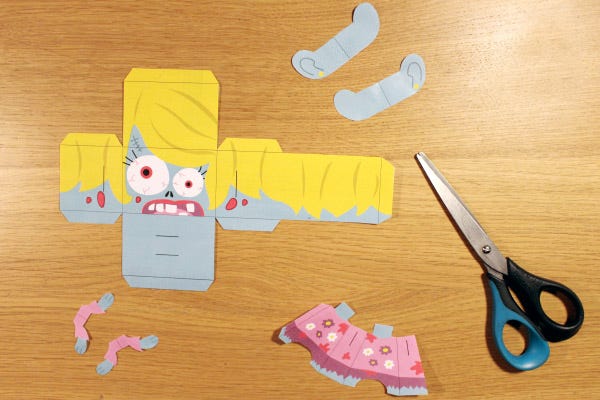
Step 1: download and print the templates in colour on A4 paper sheets. Cut out all of the shapes.2
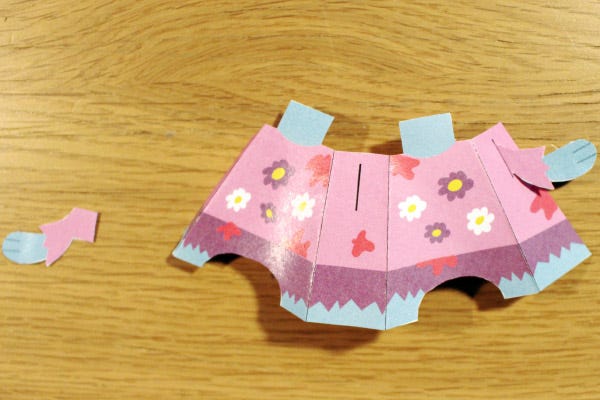
Step 2: fold along the black guidelines (as seen on the picture above).3
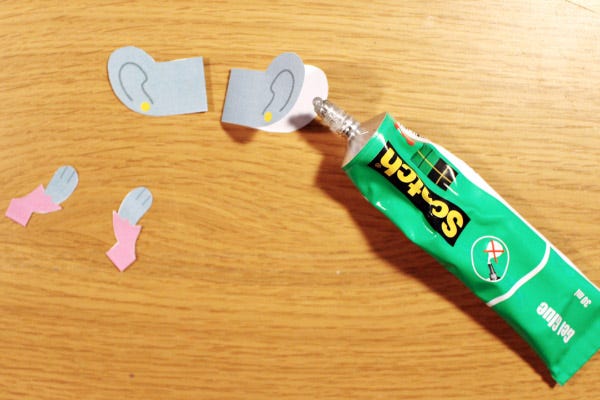
Step 3: apply some glue on the ears and fold them in half. Repeat with the arms.4
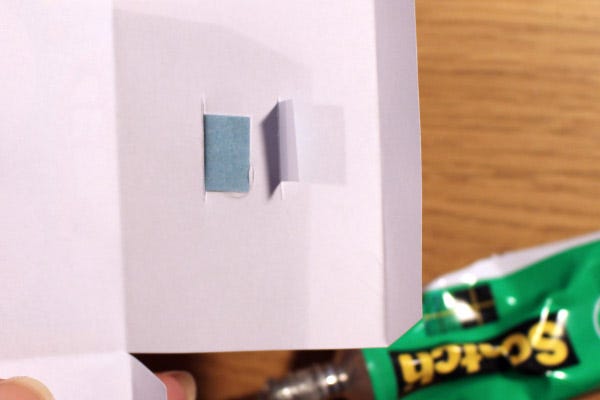
Step 4: using a cutter, cut along the 6 black guidelines (2 on the neck, one for each ear, one for each arm on the body).5
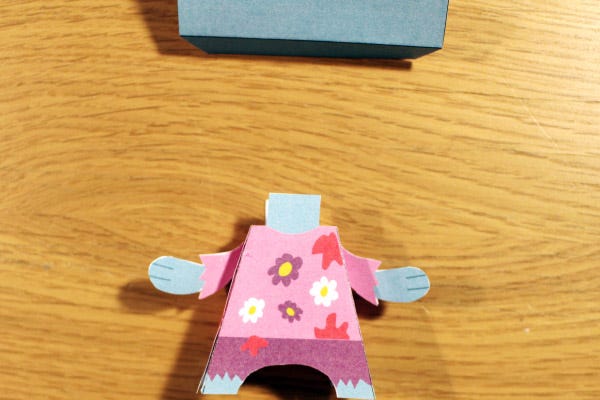
Step 5: insert the arms in the gaps on the body.6
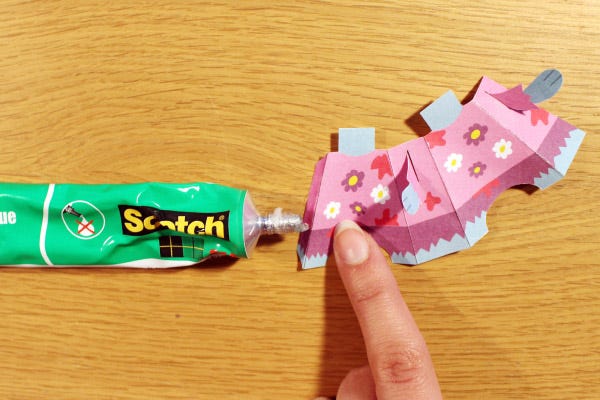
Step 6: fold and glue the flap inside the body to fasten it.7
Step 7: repeat this step for the ears.8
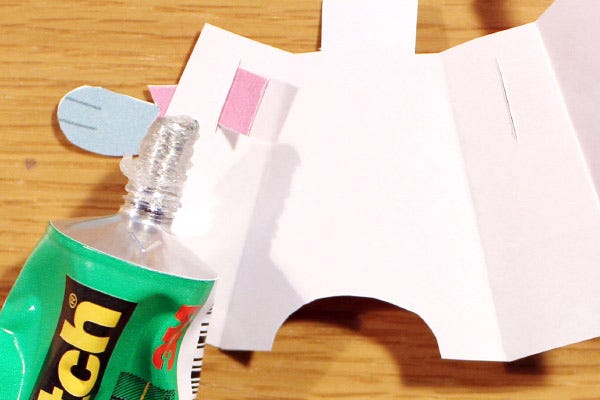
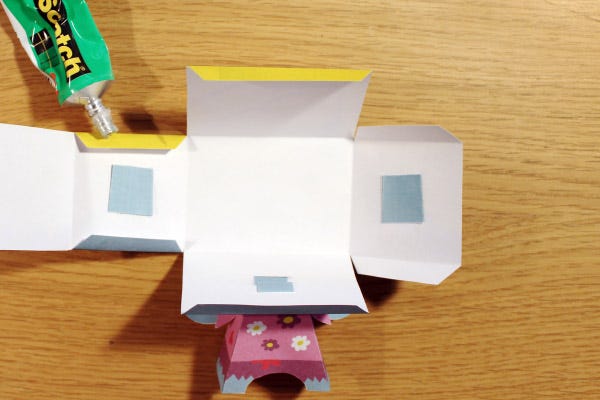
Step 8: apply glue on the outter flaps of the body.9
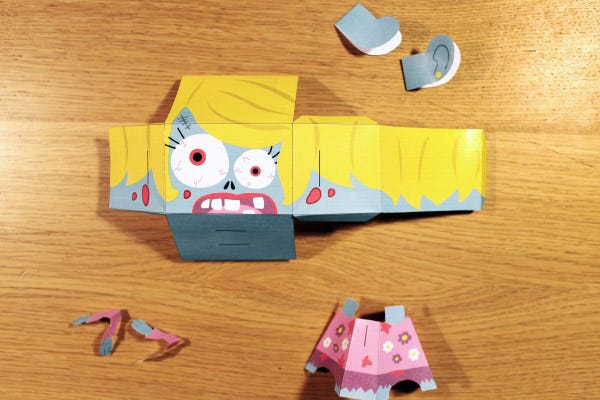
Step 9: fold the body on and close it up (see picture above).10
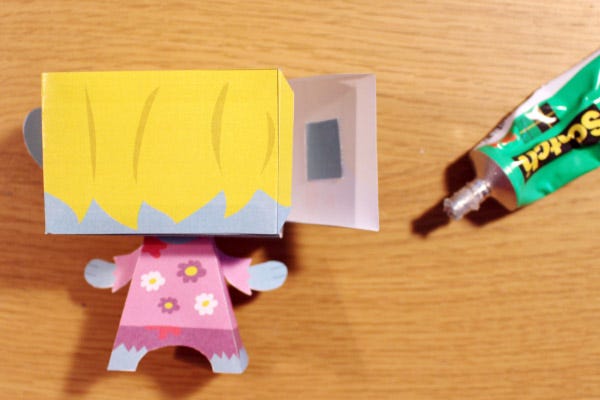
Step 10: insert the body into the head.11
Step 11: fold and glue the body flaps inside the head to fasten it.12
Step 12: apply some glue on all the flaps of the head.13
Step 13: fold to make a cube.14
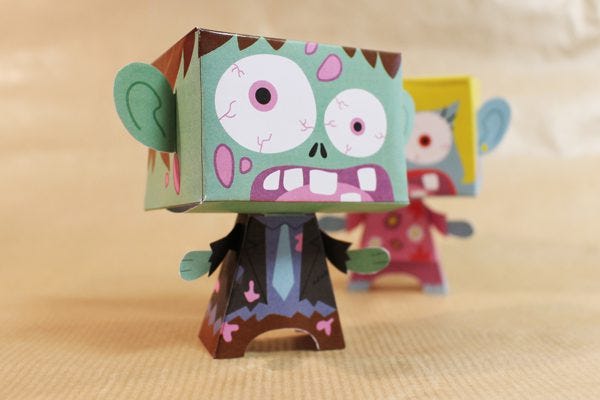
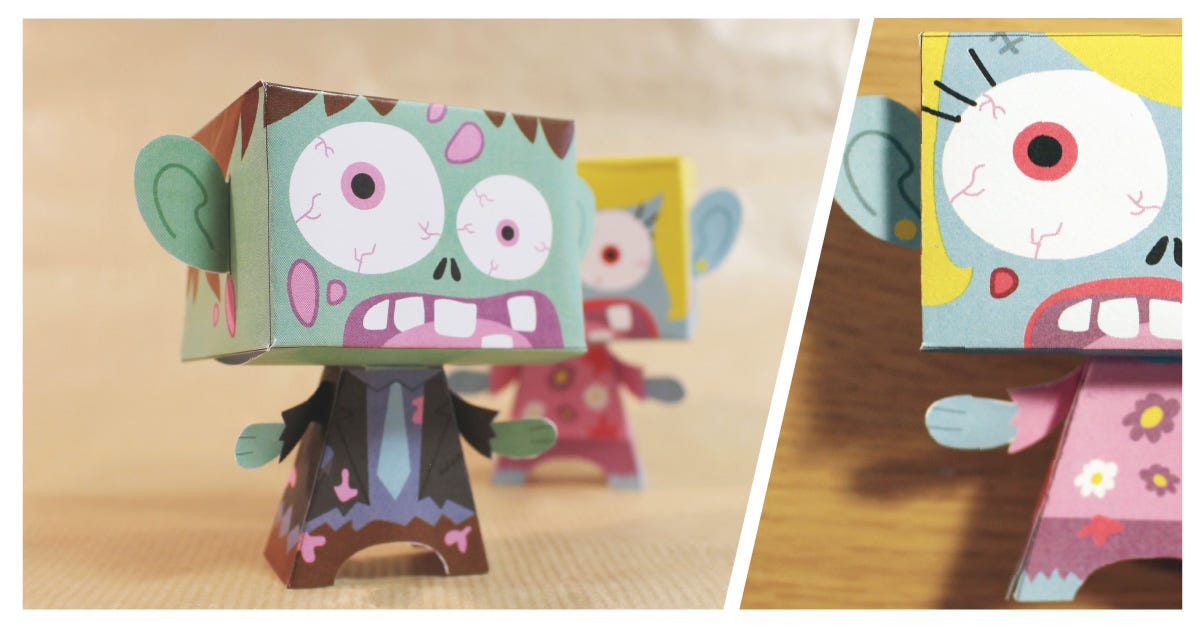
Step 14: and you're done! Now, repeat all the steps to make another zombie.15
Step 15: Warning - zombies are coming!
Discover all of our Halloween-themed DIYs, such as the Halloween Creature Bottles,
the Monster Candy Boxes and the Terrifying Tea Time!
It was our Wednesday DIY!

